|
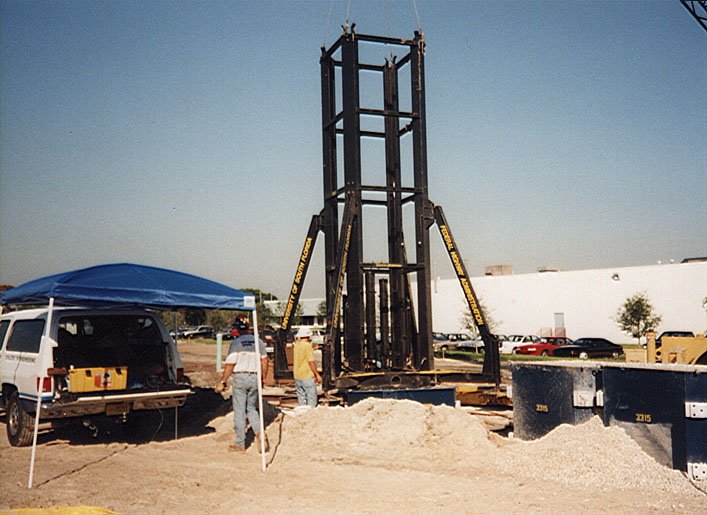
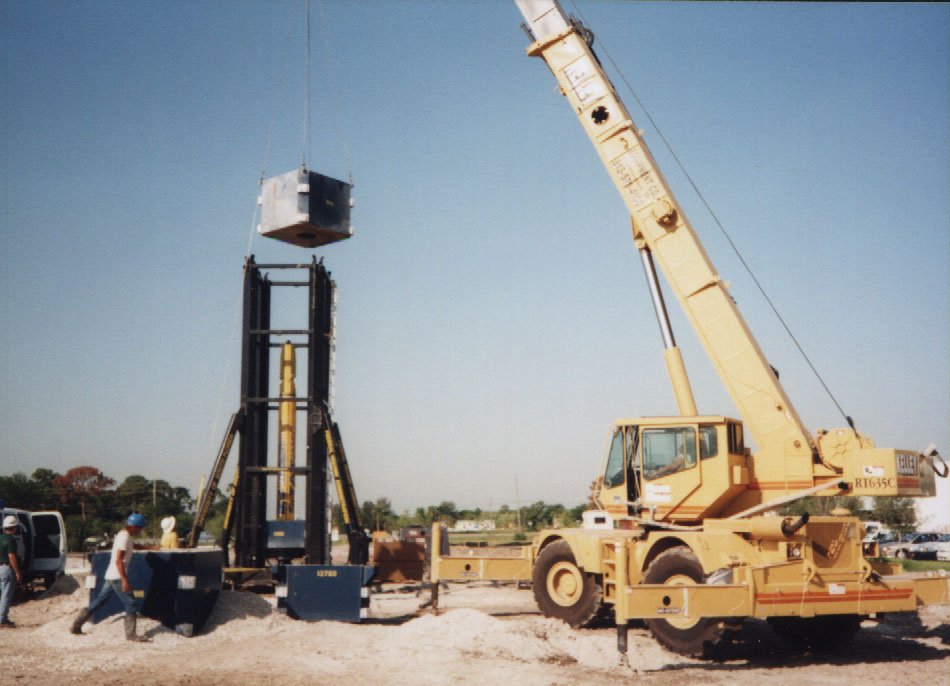
Step 1: Setup and level catch
mechanism over foundation. |
 |
Step 2: Secure piston assembly
to foundation. |
 |
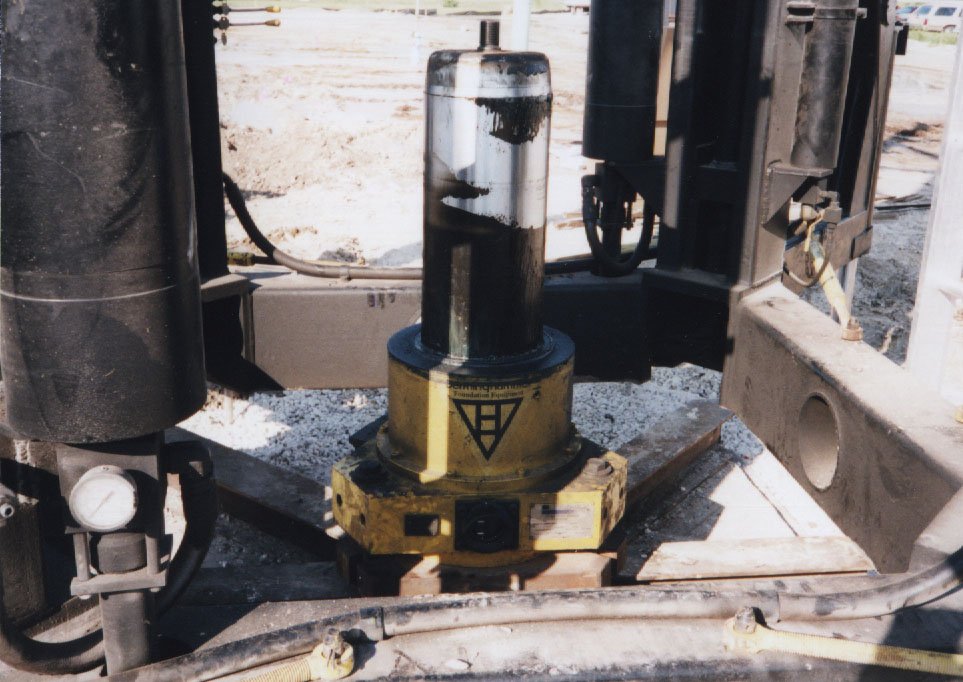
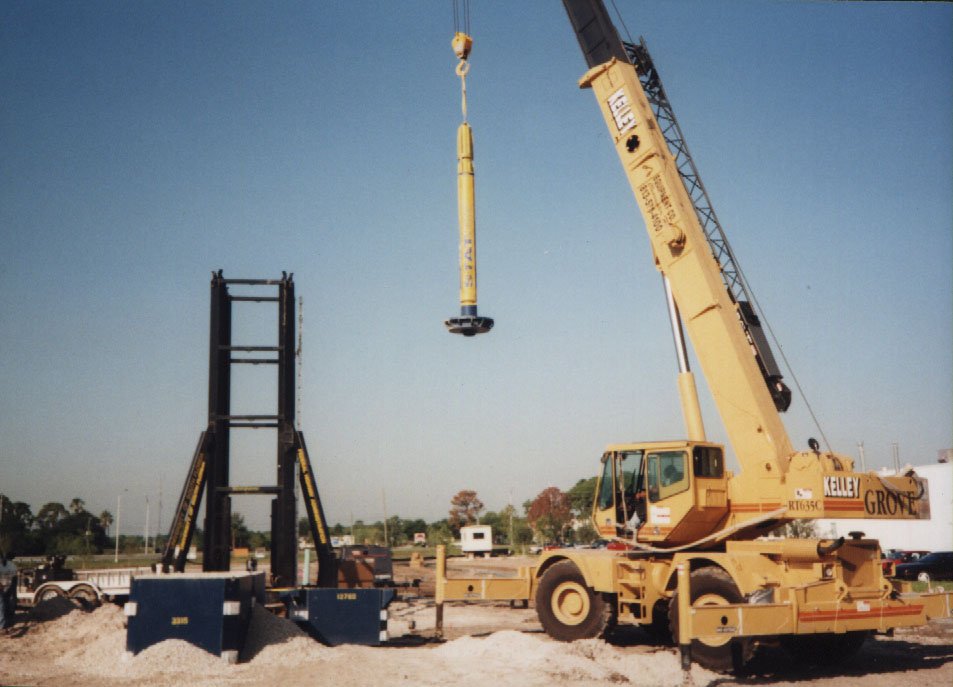
Step 3: Install silencer
(cylinder). Note: fuel basket can be installed after device is fully assembled. |
 |
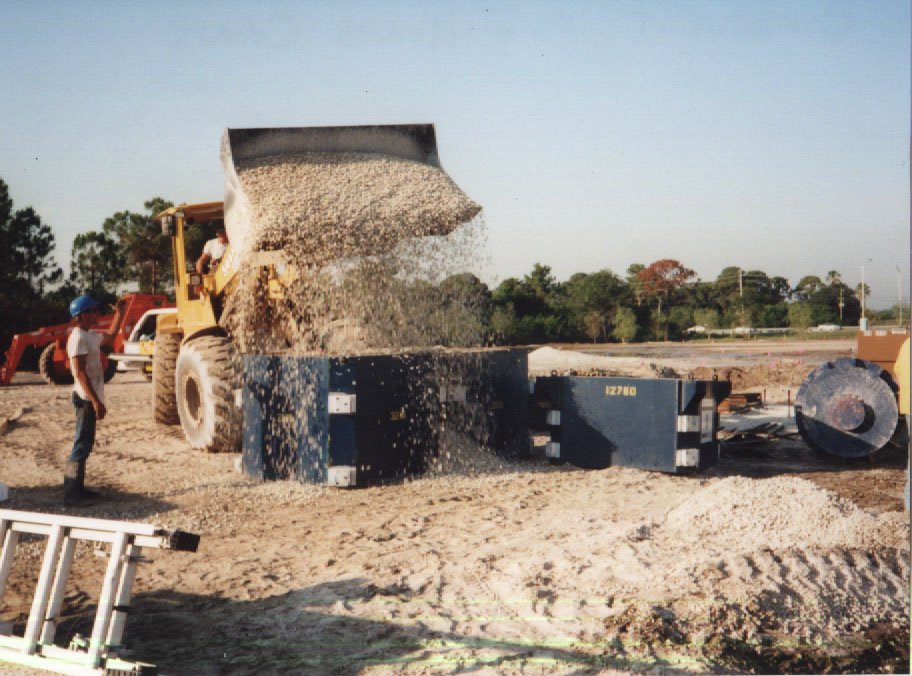
Step 4: The desired reaction
mass can be obtained from gravel, water, or some combination. |
 |
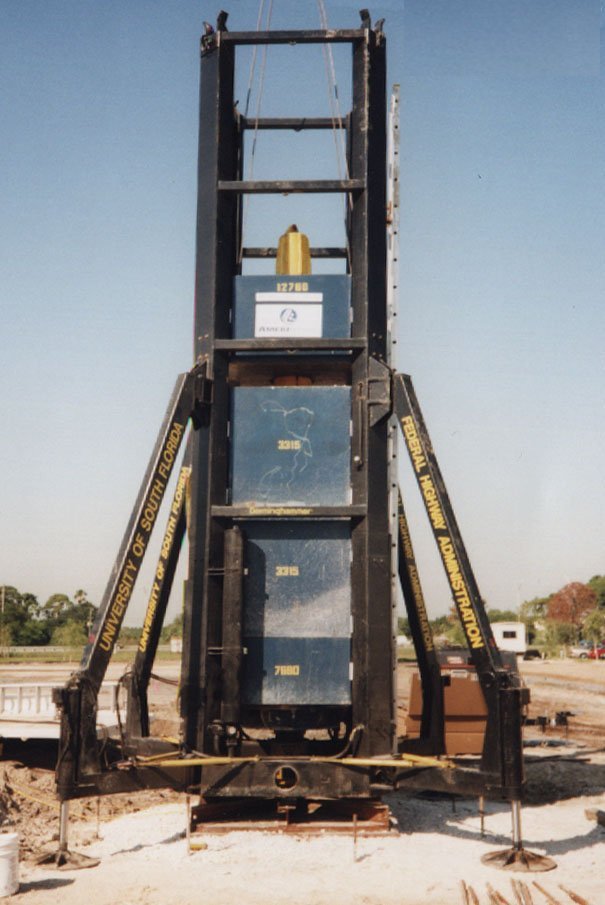
Step 5: Install reaction
masses. |
 |
(Gravel-filled reaction mass installed in
mechanism) |
 |
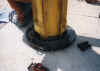
Step 6: Install lock-ring to
secure reaction masses to the silencer. |
 |
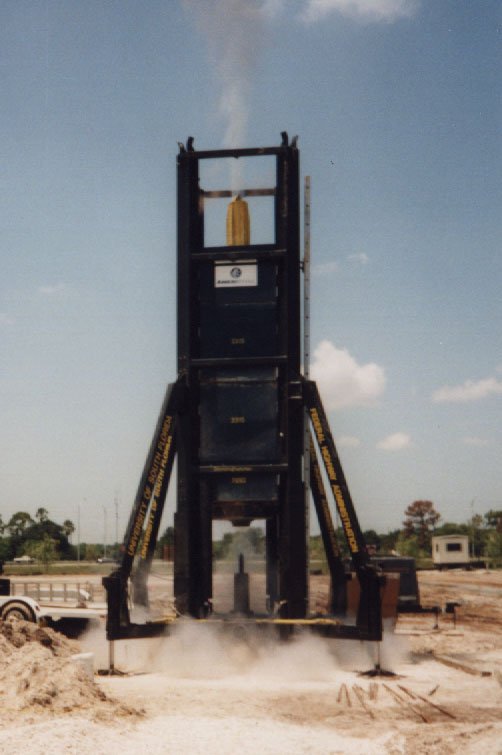
Step 7: After device is fully
assembled, the user is free to lift and lower the full reaction mass assembly using the
hydraulic rams in each of the legs. This allows access to the fuel charge, which
may now be easily installed. |
 |
Step 8: Test is performed. |